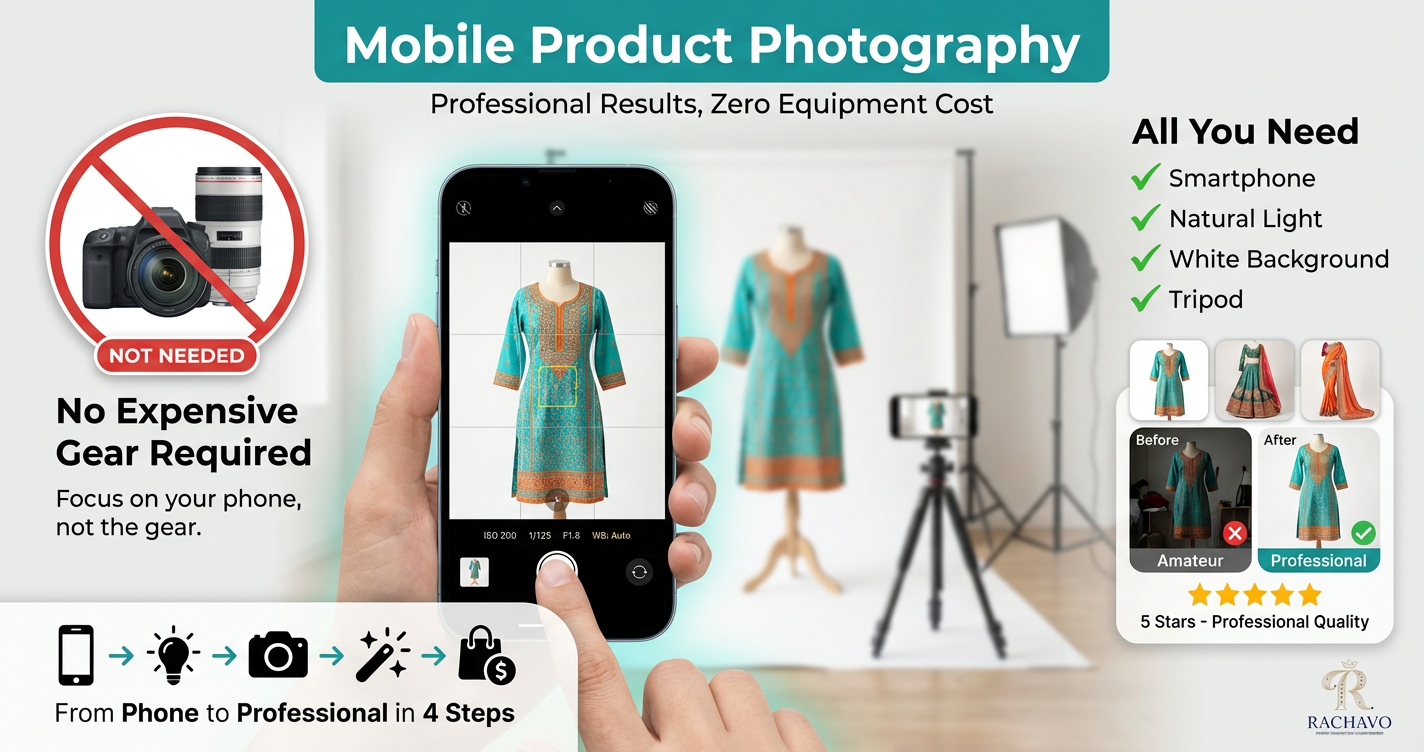
Mobile Product Photography: Professional Results Without Expensive Equipment
📑 Table of Contents
- Why Mobile Photography Works for Product Sellers
- Essential Equipment (Beyond Your Phone)
- Camera Settings for Product Photography
- Lighting Techniques for Mobile Photography
- Composition and Angles
- Shooting Different Product Types
- Editing Your Mobile Photos
- Common Mobile Photography Mistakes
- Quick Mobile Photography Checklist
Why Mobile Photography Works for Product Sellers
Modern smartphones have powerful cameras that are more than capable of product photography.
Mobile Camera Advantages:
1. Quality is Sufficient
- 12MP+ resolution (more than enough for e-commerce)
- Advanced computational photography
- Multiple lens options (wide, ultra-wide, macro)
- 4K video capability
2. Always Available
- No setup time
- Shoot anywhere, anytime
- Quick product updates
- Fast iteration
3. Integrated Workflow
- Shoot, edit, and upload from one device
- Instant preview on actual screen size
- Direct upload to marketplaces
- Built-in editing tools
4. Cost-Effective
- No camera investment needed
- No additional storage devices
- No expensive software licenses
- Lower learning curve
The Reality Check:
Mobile phones ARE great for:
- ✅ Clothing and fashion items
- ✅ Accessories and jewelry
- ✅ Home decor products
- ✅ Books and stationery
- ✅ Small electronics
- ✅ Lifestyle and context shots
Mobile phones have limitations with:
- ⚠️ Very small products (need macro lens attachment)
- ⚠️ Highly reflective items (need advanced lighting)
- ⚠️ Low-light situations (though newer phones handle this better)
- ⚠️ Large products (need wide angle lens)
Pro Tip: 80% of successful e-commerce sellers use mobile photography for at least some of their product images.
Essential Equipment (Beyond Your Phone)
You don't need expensive gear, but a few basic items dramatically improve results.
Must-Have Equipment:
1. Tripod or Phone Stand
Why: Eliminates camera shake, ensures consistent angles, allows self-timer use
Options:
- Basic phone tripod with adjustable height
- Flexible tripod (wraps around objects)
- Desktop mini tripod for small products
Budget: ₹300-1,500
2. White Background Material
Why: Clean backgrounds make products stand out and meet marketplace requirements
Options:
- White chart paper (₹50-100 for large sheets)
- White foam board (₹100-300, reusable)
- White fabric/bedsheet (₹200-500)
- Professional white backdrop (₹500-1,500)
Pro Tip: For best results, use matte white (not glossy) to avoid reflections.
3. Lighting Source
Why: Good lighting is 80% of photography quality
Options:
- Natural Light (FREE): Window light is the best free light source
- LED Panel Light (₹800-2,500): Adjustable brightness, consistent color
- Ring Light (₹600-2,000): Good for small products and jewelry
- Desk Lamp (₹300-800): With daylight bulb (5000K-6500K)
Start with: Natural window light + white reflector card
4. Reflectors
Why: Bounces light to eliminate shadows and brighten dark areas
DIY Option: White thermocol sheet, white chart paper, or aluminum foil on cardboard
Professional Option: Collapsible reflector disc (₹400-1,200)
5. Diffuser
Why: Softens harsh light for even, flattering illumination
DIY Option: White bedsheet, tracing paper, or butter paper
Professional Option: Softbox or light tent (₹800-3,000)
Optional But Helpful:
- Macro Lens Clip-on (₹300-1,500): For jewelry and small details
- Remote Shutter (₹200-600): Eliminates phone shake
- Light Tent/Photo Box (₹1,000-3,500): All-in-one solution with built-in backgrounds
- Props and Styling Elements (₹500-2,000): Contextual items for lifestyle shots
Total Budget to Start:
- Minimal Setup: ₹500-1,000 (tripod + white background + DIY reflector)
- Good Setup: ₹2,500-5,000 (above + LED light + reflector)
- Professional Setup: ₹8,000-15,000 (above + light tent + multiple lights + accessories)
Camera Settings for Product Photography
Most people use their phone camera on full auto mode. For product photography, manual control gives much better results.
Essential Camera Settings:
1. Use Pro/Manual Mode
Most phones have a "Pro" or "Manual" mode in the camera app.
Access: Camera app → More → Pro/Manual mode
2. Resolution Settings
- Set to Maximum Resolution: 12MP, 48MP, or 108MP (depending on your phone)
- Aspect Ratio: Use 4:3 or 1:1 (square)
- Format: JPEG for standard, RAW for maximum editing flexibility
Why: Higher resolution allows cropping and zooming without quality loss
3. ISO Settings
What it does: Controls camera sensitivity to light
Best Practice:
- Keep ISO as LOW as possible (100-400)
- Higher ISO = more grain/noise
- Only increase in very low light
Settings:
- Bright daylight: ISO 100-200
- Indoor with good light: ISO 200-400
- Indoor with moderate light: ISO 400-800
4. Shutter Speed
What it does: Controls how long the camera sensor is exposed to light
Best Practice:
- Use 1/125 or faster to avoid blur
- Slower = more light but more blur risk
- Use tripod if going below 1/60
5. White Balance
What it does: Controls color temperature (warm/cool tones)
Best Settings:
- Daylight/Sunny: 5500K (for window light)
- Cloudy: 6500K
- LED Light: 5000K-6500K (check your light spec)
- Auto: Often works fine, but manual is more consistent
Why: Ensures accurate product colors (critical for clothing and fashion)
6. Focus
Best Practice:
- Use manual focus for precision
- Tap on product to focus
- Use focus peaking if available (shows focused areas)
- Lock focus before shooting
7. Exposure
What it does: Controls overall brightness
Best Practice:
- Slightly underexpose (-0.3 to -0.7) to preserve details
- Easier to brighten in editing than fix overexposed areas
- Use exposure lock to maintain consistency
8. HDR Mode
When to use: Turn OFF for product photography
Why: Creates unnatural look, inconsistent colors
9. Grid Lines
Enable: Rule of thirds grid
Why: Helps with composition and alignment
Quick Settings Cheat Sheet:
For White Background Product Shots:
- ISO: 100-200
- Shutter: 1/125 or faster
- White Balance: 5500K (daylight)
- Focus: Manual, on product
- Exposure: -0.3
- HDR: OFF
For Lifestyle/Contextual Shots:
- ISO: 200-400
- Shutter: 1/125 or faster
- White Balance: Match lighting
- Focus: On product
- Exposure: 0 to -0.3
- HDR: Can use if natural-looking
Lighting Techniques for Mobile Photography
Lighting makes or breaks product photography. Master these techniques for professional results.
Natural Light Setup (FREE):
Best Time: 10 AM - 3 PM (avoid harsh midday sun)
Setup:
- Position product near large window (not in direct sunlight)
- Place white background behind product
- Position reflector opposite the window (bounces light, fills shadows)
- Shoot with window light coming from 45-90° angle to product
Window Light Angles:
- Side Light (90°): Dramatic, shows texture, creates depth
- 45° Angle: Most flattering, balanced shadows
- Front Light (facing window): Flat, even, good for white background shots
- Backlight: Avoid (creates silhouette unless intentional)
Cloudy Days = Perfect: Clouds act as natural diffuser, creating soft even light
Artificial Light Setup:
1. Single Light Setup (Minimum)
Position:
- Place LED light at 45° angle to product
- 2-3 feet away from product
- Slightly above product level (pointing down 30°)
- Use reflector on opposite side to fill shadows
2. Two-Light Setup (Better)
Main Light: 45° to one side, slightly above
Fill Light: Opposite side, lower intensity (or use reflector)
Result: Even lighting, minimal shadows, professional look
3. Three-Light Setup (Professional)
Key Light: Main light at 45° (brightest)
Fill Light: Opposite side (60% intensity of key light)
Back Light: Behind product, pointing at background (eliminates background shadows)
Light Diffusion Techniques:
Problem: Harsh direct light creates hard shadows
Solutions:
- Bounce Light: Point light at white wall/ceiling, let it bounce onto product
- Diffusion Panel: Place white fabric/paper between light and product
- Light Tent: Shoot product inside translucent tent with lights outside
- DIY Softbox: Cover light with tracing paper (ensure safe distance, no fire risk)
Lighting for Different Products:
Clothing (Flat Lay):
- Overhead even lighting
- Two lights at 45° on each side
- No harsh shadows on fabric
Clothing (On Model/Mannequin):
- 45° front lighting
- Fill light to reduce shadows
- Backlight optional for separation
Jewelry (Reflective):
- Diffused lighting (avoid hot spots)
- Light tent works best
- Multiple small lights better than one strong light
Dark Products:
- More light needed
- Use reflectors generously
- Slight overexposure, correct in editing
White Products:
- Careful not to overexpose
- Slightly underexpose
- Backlight the background separately
Pro Tip: Take a test shot, check on your phone, adjust lights, repeat. Don't take 100 photos with wrong lighting—fix it before shooting.
Composition and Angles
Great composition makes products look professional and appealing.
Rule of Thirds
Technique:
- Enable grid on camera
- Place product along grid lines or at intersections
- Don't always center (unless required for marketplace main image)
When to Use:
- Lifestyle shots
- Context images
- Social media content
When to Break:
- Marketplace main images (center the product)
- Symmetrical products
Product Angles to Capture:
For Every Product, Shoot:
- Straight-On Front (0° eye level)
- Main marketplace image
- Shows product clearly
- Customer's first view
- 45° Angle
- Most flattering for most products
- Shows dimension and depth
- Natural viewing angle
- Overhead/Flat Lay (90° from above)
- Great for clothing, accessories
- Shows complete product
- Trendy, social-media-friendly
- Detail Close-Ups
- Fabric texture
- Stitching quality
- Brand labels
- Special features
- Back View
- Essential for clothing
- Shows complete design
- Reduces returns
- Side Profile
- Shows product thickness/depth
- Important for bags, shoes, electronics
- Helps visualize dimensions
Composition Tips:
DO:
- ✅ Fill the frame (product should be prominent)
- ✅ Keep backgrounds simple and clean
- ✅ Use negative space intentionally
- ✅ Maintain consistent style across product line
- ✅ Show scale (place common object nearby if size unclear)
DON'T:
- ❌ Clutter frame with unnecessary items
- ❌ Crop important product parts
- ❌ Tilt camera (keep horizons level)
- ❌ Use distracting backgrounds
- ❌ Mix different lighting styles in one product set
Creating Depth:
Techniques:
- Layering: Place props at different distances
- Shallow Depth of Field: Use portrait mode (blur background)
- Shadows: Use light shadows to create dimension
- Perspective: Shoot from slightly above or below
Shooting Different Product Types
Each product category needs different approaches.
Clothing (Kurtis, Sarees, Lehengas):
Setup Options:
Option 1: Flat Lay
- Lay on white background
- Overhead shot
- Arrange neatly, remove wrinkles
- Style with accessories
Option 2: Ghost Mannequin
- Dress invisible mannequin
- Shoot front, back, sides
- Remove mannequin in editing or use AI tools
Option 3: Hanger
- Hang on white/invisible hanger
- Straight-on shot
- Good for display, shows natural drape
Lighting: Even, overhead or 45° from both sides
Angles Needed: Front, back, side, detail (embroidery/print)
Jewelry and Accessories:
Challenges: Small size, reflective surfaces
Solutions:
- Use macro mode or clip-on macro lens
- Light tent to avoid reflections
- Props for scale (place on model hand, neck)
- Multiple angles showing clasps, closures
Setup:
- White or contrasting background
- Diffused lighting (prevent hot spots)
- Reflector to brighten without harsh light
Pro Tip: For earrings, photograph as pair. For necklaces, show both flat and on display bust.
Bags and Footwear:
Key: Show structure, dimensions, practical features
Bags:
- Front view (closed)
- Open view (showing interior)
- Side view (shows depth/width)
- Detail shots (zippers, pockets, straps)
- In-use lifestyle shot
Shoes:
- Side profile (most important)
- Front view
- Back view
- Sole view (for formal/athletic)
- Detail (material texture, stitching)
Lighting: 45° angle, shows texture and material
Electronics and Gadgets:
Considerations: Reflective screens, technical details
Setup:
- Turn on product (show screen/lights working)
- Clean thoroughly (shows fingerprints easily)
- Show ports, buttons, features
- Include size comparison
Lighting: Soft, diffused (avoid screen glare)
Angles: 45°, straight-on, details, in-use
Home Decor:
Goal: Help customers visualize in their space
Setup:
- Styled context (on table, shelf, wall)
- Room setting shots
- Multiple angles
- Show with complementary items
Lighting: Natural room lighting often works best
Editing Your Mobile Photos
Good editing transforms good photos into great ones.
Mobile Editing Apps:
Free Options:
- Snapseed (by Google): Professional-level editing, free
- Lightroom Mobile (Adobe): Industry standard, free basic version
- VSCO: Stylish filters, basic editing free
- Google Photos: Built-in basic editing
Paid Options:
- Lightroom Mobile Pro: Advanced features
- Afterlight: Comprehensive editing tools
- TouchRetouch: Remove unwanted objects
Essential Editing Steps:
1. Crop and Straighten
- Crop to ideal dimensions (1:1 square for marketplace)
- Straighten horizons
- Remove distracting edges
2. Adjust Exposure and Brightness
- Increase if underexposed
- Decrease if overexposed
- Aim for bright but not blown-out whites
3. Adjust White Balance
- Correct color temperature
- Make whites actually white
- Ensure product colors are accurate
4. Increase Contrast (Slightly)
- Adds punch and depth
- Don't overdo (looks unnatural)
- 10-20% increase usually sufficient
5. Adjust Shadows and Highlights
- Lift shadows slightly (reveal detail)
- Reduce highlights if too bright
- Maintain natural look
6. Saturation and Vibrance
- Slight increase for pop (5-15%)
- Don't oversaturate (colors must match real product)
- Vibrance is gentler than saturation
7. Sharpness
- Add slight sharpening (10-20%)
- Makes details crisp
- Don't over-sharpen (creates halos)
8. Remove Distractions
- Clone out dust, lint, threads
- Remove background imperfections
- Clean up minor flaws
9. Background Cleanup
- Pure white background for marketplace compliance (RGB 255,255,255)
- Use background removal tools or AI
- Ensure clean edges around product
Editing Don'ts:
- ❌ Don't change product colors (must match reality)
- ❌ Don't over-edit texture (customers need to see real fabric/material)
- ❌ Don't add fake effects (lens flares, artificial bokeh)
- ❌ Don't make product look better than reality (leads to returns)
Batch Editing for Consistency:
Process:
- Edit one product photo to perfection
- Save editing settings as preset
- Apply same preset to all photos in series
- Make minor individual adjustments as needed
Result: Consistent look across entire product catalog
Common Mobile Photography Mistakes
Avoid these common errors for professional results.
Mistake 1: Digital Zoom
Problem: Degrades image quality, creates pixelation
Solution:
- Move physically closer to product
- Use optical zoom if phone has multiple lenses
- Crop in editing instead (from high-res original)
Mistake 2: Shooting in Poor Lighting
Problem: Grainy, dark, color-inaccurate photos
Solution:
- Wait for better natural light
- Add artificial lighting
- Never rely on phone flash (creates harsh shadows)
Mistake 3: Dirty Lens
Problem: Blurry, hazy images
Solution:
- Clean lens before every shoot (microfiber cloth)
- Check for fingerprints, dust
Mistake 4: Camera Shake
Problem: Blurry images, especially in lower light
Solution:
- Use tripod
- Hold phone with both hands, brace against body
- Use self-timer (2-3 second delay)
- Use volume button instead of screen tap
Mistake 5: Wrong Aspect Ratio
Problem: Product gets cropped on marketplace listings
Solution:
- Shoot in 1:1 square or 4:3
- Leave space around product for cropping flexibility
- Check marketplace requirements before shooting
Mistake 6: Inconsistent Backgrounds
Problem: Unprofessional look, marketplace rejection
Solution:
- Use same white background for all main images
- Maintain consistent setup
- Create template for placement
Mistake 7: Ignoring Product Preparation
Problem: Lint, wrinkles, dust visible in photos
Solution:
- Iron/steam clothing
- Lint-roll fabric products
- Clean products thoroughly
- Style carefully before shooting
Mistake 8: Over-Editing
Problem: Unnatural look, inaccurate colors
Solution:
- Edit for enhancement, not transformation
- Keep product colors accurate
- When in doubt, edit less
Quick Mobile Photography Checklist
Before Shooting:
- Product cleaned and prepared (ironed, lint-free, polished)
- Phone lens cleaned
- Background set up (white, wrinkle-free)
- Lighting arranged (window light or artificial)
- Tripod/stand positioned
- Camera settings adjusted (Pro mode, low ISO, correct white balance)
- Grid lines enabled
During Shooting:
- Product centered and properly positioned
- 85%+ frame fill (for marketplace main images)
- Focus locked on product
- Multiple angles captured (front, back, side, details)
- Check each photo immediately after taking
- Retake any blurry or poorly lit shots
- Capture both white background and lifestyle versions
Shot List for Each Product:
- Main image (white background, front view)
- Back view
- Side view(s)
- Close-up details (texture, stitching, features)
- Lifestyle/context image (model or setting)
- Size reference (if needed)
- Packaging (if relevant)
After Shooting:
- Transfer photos to editing app
- Crop to correct dimensions (1:1 or as required)
- Adjust exposure, white balance, contrast
- Ensure white background is pure white (RGB 255,255,255)
- Remove any dust/imperfections
- Check color accuracy
- Sharpen slightly
- Export at correct dimensions (2000x2000px minimum)
- Verify file size (under 10MB)
- Upload to marketplace
Conclusion
Professional product photography doesn't require professional equipment—it requires professional technique.
Your mobile phone is capable of stunning product photos when you:
- Control the lighting (natural or artificial, but controlled)
- Use proper camera settings (manual mode, low ISO, correct white balance)
- Compose thoughtfully (clean backgrounds, good angles)
- Edit carefully (enhance, don't transform)
- Stay consistent (same setup for entire catalog)
Action Steps:
This Week:
- Invest in basic equipment (tripod + white background = ₹500-1,000)
- Find your best natural light source (window, time of day)
- Practice with 5-10 products
- Learn your camera's manual mode
This Month:
- Shoot all current products with new technique
- Upload improved images to listings
- Add artificial lighting if needed
- Develop consistent editing workflow
Track Results:
- Monitor click-through rates (more clicks = better images)
- Watch conversion rates (more sales = effective photos)
- Note decrease in returns (accurate photos = fewer surprises)
Remember: Every professional product photographer started as a beginner. The difference between amateur and pro isn't the gear—it's the knowledge and practice.
Start shooting today. Your products deserve to be seen at their best.
Want to skip the learning curve? AI-powered photography tools can transform your basic phone photos into professional, marketplace-ready images in minutes—with perfect white backgrounds, multiple angles, and even AI-generated lifestyle shots.